
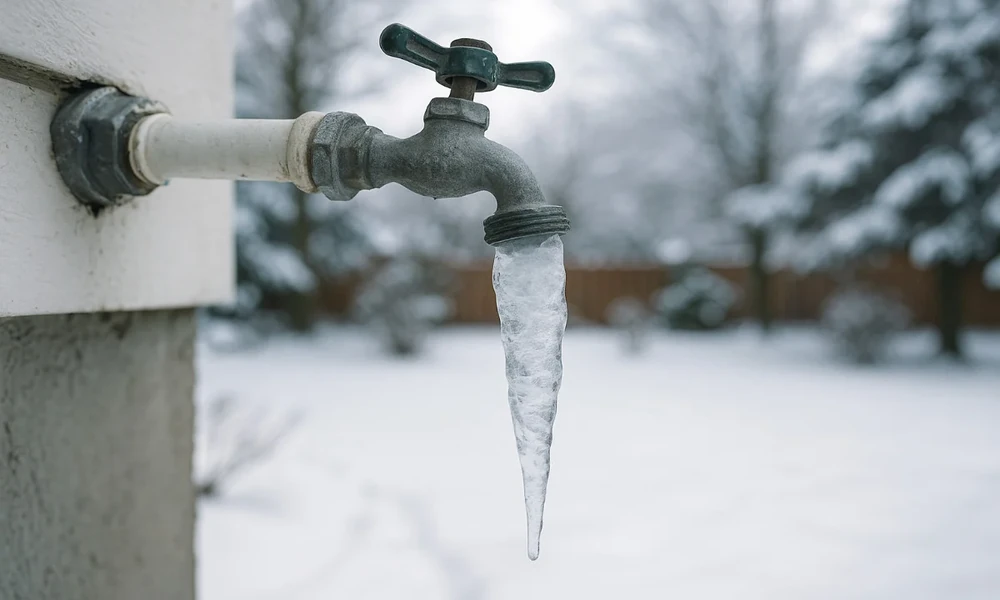
Most burst pipes don’t announce themselves on the coldest night of the year. They announce themselves in April, when someone hooks up a garden hose for the first time and water starts pouring into the basement. That delay is exactly why the crews at Harris Plumbing NG spend as much time on spring hose bib repairs as they do on emergency winter calls. The freeze causes the damage. The thaw reveals it.
Nearly every step in that sequence is preventable with basic maintenance and a little timing.
At what temperature do pipes actually freeze?
Water freezes at 32°F, but pipes inside a house typically don’t reach a danger point until outdoor temperatures drop to about 20°F. That figure comes from research at the University of Illinois Building Research Council and is the threshold the American Red Cross has long cited in its cold weather guidance.
The number assumes uninsulated pipes in unheated spaces. Drafts matter too, since air moving through a rim joist or a crawl space vent can pull a pipe below freezing while the outside air is still in the high twenties. Homes in mild climates often fare worse than northern ones, because supply lines get routed through attics, exterior walls, and unconditioned garages where nobody expected ice.
Why does ice split a pipe?
The split is caused by trapped pressure, not by ice pushing against the pipe wall. Water expands roughly 9 percent as it freezes. Once an ice plug forms, continued freezing drives water down the line toward a closed faucet, and pressure in that sealed section can climb past 2,000 psi. Copper and CPVC both give out well below that.
It explains why damage often appears several feet from the ice itself, and why letting a faucet drip works. A moving trickle relieves pressure and keeps the column from sealing.
Which pipes in your home freeze first?
The vulnerable lines are the ones cut off from heated air: hose bibs and the pipe feeding them, supply lines in unheated garages, pipes running through crawl spaces or attics, and anything in an exterior wall cavity with thin or compressed insulation. Kitchen and bathroom lines on outside walls fail more often than people expect, especially under sinks where a closed cabinet door blocks room heat.
- Disconnect and drain every garden hose, then close the interior shutoff valve if your home has one and open the exterior spigot to drain the remaining water
- Insulate exposed pipes with foam sleeves in crawl spaces, garages, and attics
- Use only UL-listed heat cable, installed per the manufacturer’s instructions, and never wrap it over itself
- Seal air leaks near the sill plate and around pipe penetrations
- Keep the thermostat at 55°F or higher when you travel, which the Red Cross recommends as a minimum for unoccupied homes
Why do hose bibs fail in spring instead of winter?
A frost-free hose bib, sometimes called a frost-proof sillcock, has a long stem that puts the actual shutoff valve 6 to 12 inches back inside the heated wall. The exterior portion of the pipe is supposed to be empty all winter. If a hose was left attached, water cannot drain out, it freezes in the barrel, and the copper tube splits behind the siding.
Nothing leaks, because the valve seat is still holding water back at the far end. Then in April someone opens the spigot, pressurized water reaches the cracked section, and the leak shows up in the framing, the basement ceiling, or the finished room below.
How do you test a hose bib after winter?
Open the spigot fully with no hose attached and place your thumb over the opening. If you can block the flow completely, or pressure drops away, water is escaping somewhere behind the wall and you should shut the valve immediately.
While the spigot runs, check the interior side of that wall for staining or dampness. Then shut every fixture in the house and watch the water meter, since any movement points to a leak in the system. Insurers commonly note that a crack as small as an eighth of an inch can release around 250 gallons a day, and the Insurance Information Institute puts the average water damage and freezing claim near $14,000.
What does a hose bib repair cost?
Replacing a standard frost-free sillcock generally runs between $175 and $450, depending on whether the connection is soldered, threaded, or press-fit and whether access requires opening drywall. Replacing a split section of supply line inside a finished ceiling climbs into the $600 range or beyond once drywall repair is included.
Two details separate a correct installation from a callback. The bib must pitch slightly downward toward the exterior so the barrel drains on its own, and it needs a working vacuum breaker, the anti-siphon device required by both the International Plumbing Code and the Uniform Plumbing Code to keep hose water from being drawn back into the drinking supply.
When should you call Harris Plumbing NG instead of handling it yourself?
Call a professional when the leak is inside a wall, when you cannot locate the interior shutoff, or when a pipe is frozen and you have no water at a fixture. Thawing with an open flame causes more house fires than any other frozen pipe mistake, and a torch near dry framing is not worth the risk.
Catching a damaged hose bib before the first warm weekend is the difference between a routine service call and a restoration project. If your spigot feels loose, drips at the handle, or fails the thumb test this spring, have it looked at by Harris Plumbing NG before you reconnect the hose and pressurize a line that may already be split.